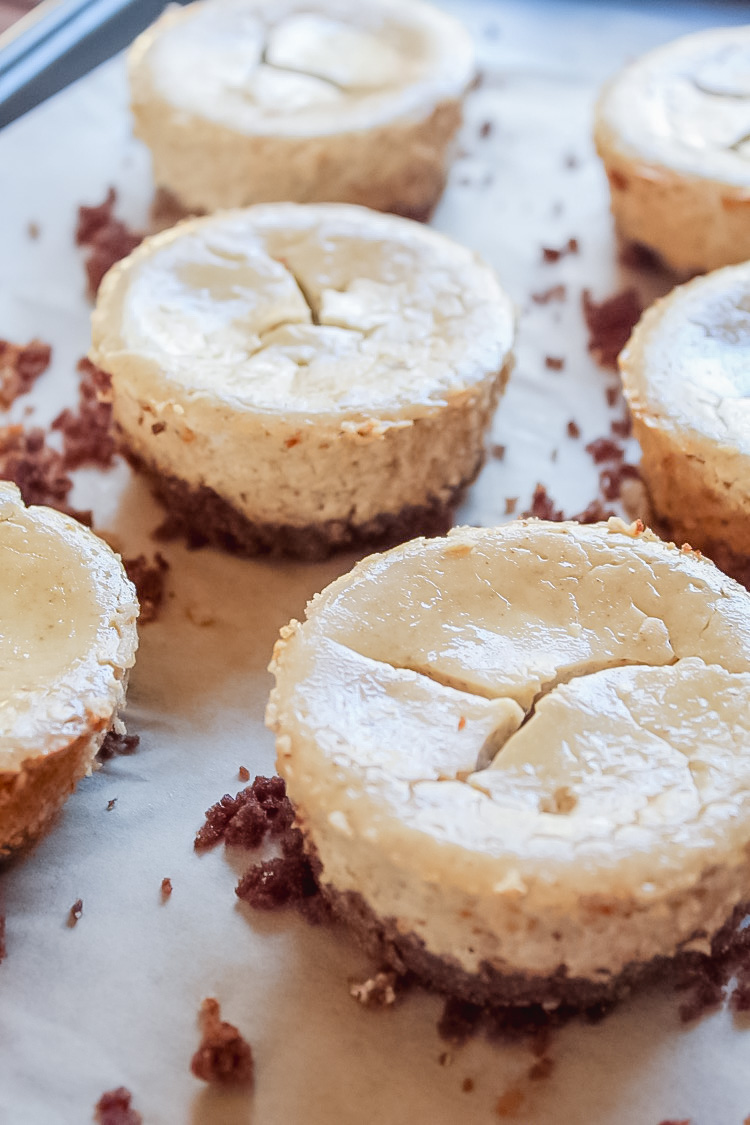
There are few things more comforting than a cup of chai. Every time I drink it, it feels like a hug in a cup. Anyone else with me? Drinking chai in the fall, well that is next level comfort! One of the most wonderful aspects of chai is the highlight of the cinnamon flavor. When we were in the process of developing this recipe, we knew that we had to use a crust that highlighted just that.
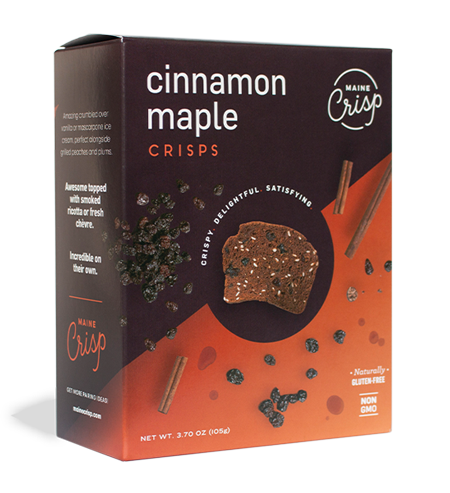
We were thrilled to be able to partner with Maine Crisp on this recipe because their crunchy, sweet, and nutty gluten free crisps were exactly what we needed to capture that flavor. What we love most about their crisps is how intentionally they were created using only the best ingredients for health and decadence. We knew that every ingredient in this recipe had to reflect just that.
When I took my first bite of this recipe, I thought one thing, “Wow, no one would know this was SO healthy!” Personally, I would serve this to guests of ALL dietary needs without hesitation. The beauty of it though, is that even though everyone will love it, it considers the dietary needs around your table that can sometimes be difficult to capture.
Our hope is that this recipe becomes a staple in your home. One that not only celebrates and promotes health, but also helps fill your tables with memories!
*Important dietary note: while this recipe is almost entirely dairy free, Maine Crisp crackers do include trace amount of milk powder. If you are allergic to dairy, you can replace this ingredient with your favorite cinnamon cracker or graham cracker.
Preheat your oven to 350°F
In a food processor, place all the dry ingredients for the crust. Pulse until the ingredients break down to a fine dust. In a small bowl, mix in melted butter until combined.
Note: If you have large cracker pieces the crust will be crumbly.
If the pan is not non-stick, lightly coat with palm shortening before this step.
In a jumbo muffin pan, divide the mixture evenly into each of the 6 cups. With your hands, press down the mixture until well packed to line the bottom of the pan.
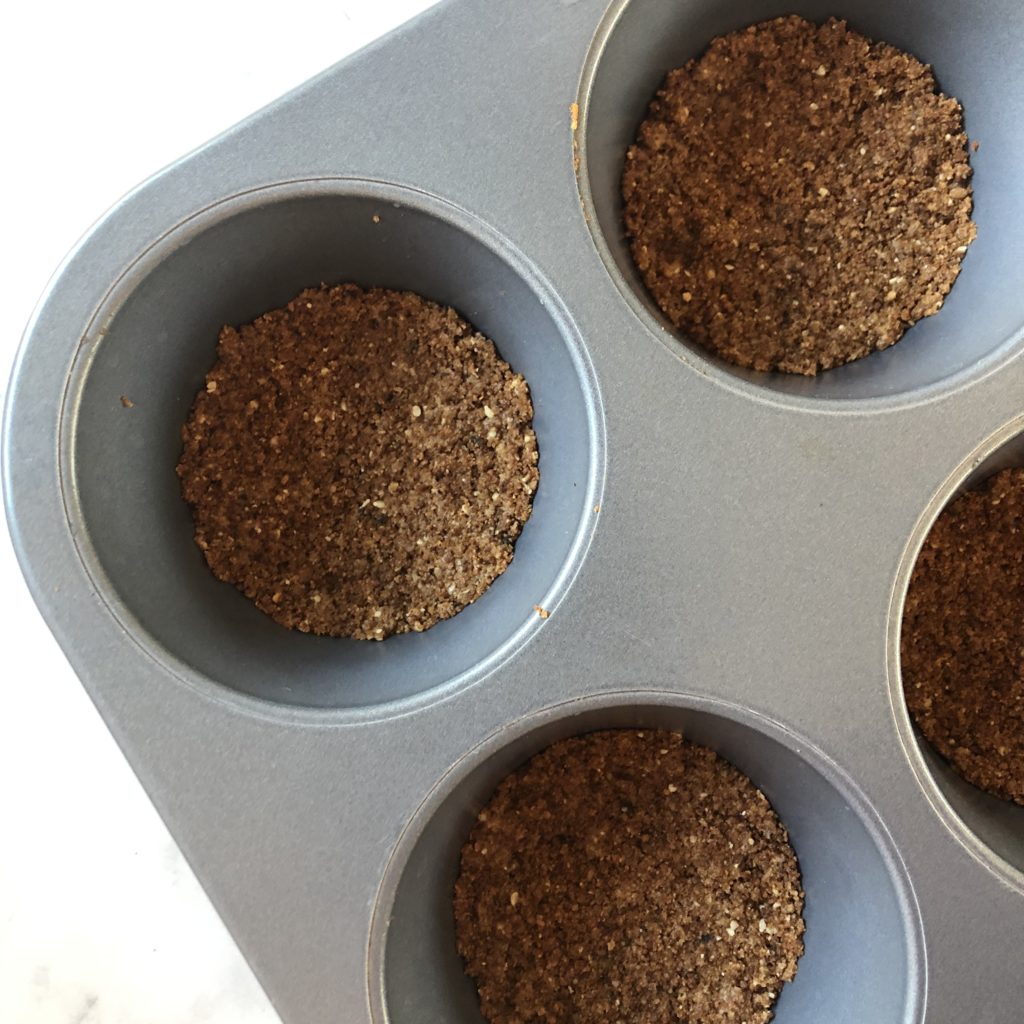
Bake the crust in your preheated oven for approximately 8 minutes. Take out from oven to let cool while you make the filling.
In a blender or mixer, place all ingredients for the filling. Mix until well combined, and no lumps remain.
We recommend using a blender for the smoothest mixture.
Divide mixture into the 6 cups. When finished pouring the batter, bake for 30 minutes or until the center is no longer loose.
Mixture will “jiggle” but it should not be wet. If it is still wet, continue to bake in 3-5 minute increments.
One of the easiest way to remove from the pan is to use a cupcake liner from the beginning. However, I much prefer the way these look without the liner- it just takes a little patience!
Wait until the cheesecakes are at room temperature. Then, prepare a cookie sheet with parchment paper.
When the cheesecakes are cooled, run a butter knife around the edge of each cup, going all the way down to the bottom crust to release it from the side.
If the mixture is too hot it will stick to the knife!
Place your cookie sheet with the parchment paper on top of the muffin pan. The cookie sheet will be upside down with the paper touching the muffin pan.
Make sure you have a good grip holding the two pans together.
Then flip the pans over so the cookie sheet is right side up and the muffin pan is upside down.
Gently remove the muffin pan- the cheesecakes should be released at this point! With your hands flip them right side up.
If they did not release, repeat the last step gently guiding the knife along the cup to help it release.
Keep cheesecakes chilled until serving.
Cheesecakes can easily be served as is. However, to make it "over the top", top it with coconut milk whipped cream, caramel sauce, and candied nuts!
These can be frozen in an air tight container or stored in the fridge!
Ingredient Recommendations:
Maine Crisp Crackers can be purchased straight from their website!
Use code “Gather15” at checkout for 15% off,
Ingredients
Directions
Preheat your oven to 350°F
In a food processor, place all the dry ingredients for the crust. Pulse until the ingredients break down to a fine dust. In a small bowl, mix in melted butter until combined.
Note: If you have large cracker pieces the crust will be crumbly.

If the pan is not non-stick, lightly coat with palm shortening before this step.
In a jumbo muffin pan, divide the mixture evenly into each of the 6 cups. With your hands, press down the mixture until well packed to line the bottom of the pan.

Bake the crust in your preheated oven for approximately 8 minutes. Take out from oven to let cool while you make the filling.
In a blender or mixer, place all ingredients for the filling. Mix until well combined, and no lumps remain.
We recommend using a blender for the smoothest mixture.
Divide mixture into the 6 cups. When finished pouring the batter, bake for 30 minutes or until the center is no longer loose.
Mixture will “jiggle” but it should not be wet. If it is still wet, continue to bake in 3-5 minute increments.
One of the easiest way to remove from the pan is to use a cupcake liner from the beginning. However, I much prefer the way these look without the liner- it just takes a little patience!
Wait until the cheesecakes are at room temperature. Then, prepare a cookie sheet with parchment paper.
When the cheesecakes are cooled, run a butter knife around the edge of each cup, going all the way down to the bottom crust to release it from the side.
If the mixture is too hot it will stick to the knife!
Place your cookie sheet with the parchment paper on top of the muffin pan. The cookie sheet will be upside down with the paper touching the muffin pan.
Make sure you have a good grip holding the two pans together.
Then flip the pans over so the cookie sheet is right side up and the muffin pan is upside down.
Gently remove the muffin pan- the cheesecakes should be released at this point! With your hands flip them right side up.
If they did not release, repeat the last step gently guiding the knife along the cup to help it release.
Keep cheesecakes chilled until serving.
Cheesecakes can easily be served as is. However, to make it "over the top", top it with coconut milk whipped cream, caramel sauce, and candied nuts!
These can be frozen in an air tight container or stored in the fridge!
back to top


